Vibe coding isn’t just using AI tools randomly. The best results come from a structured workflow.
After a year of building with AI, I’ve refined a process that consistently produces quality results. Here’s the complete workflow.
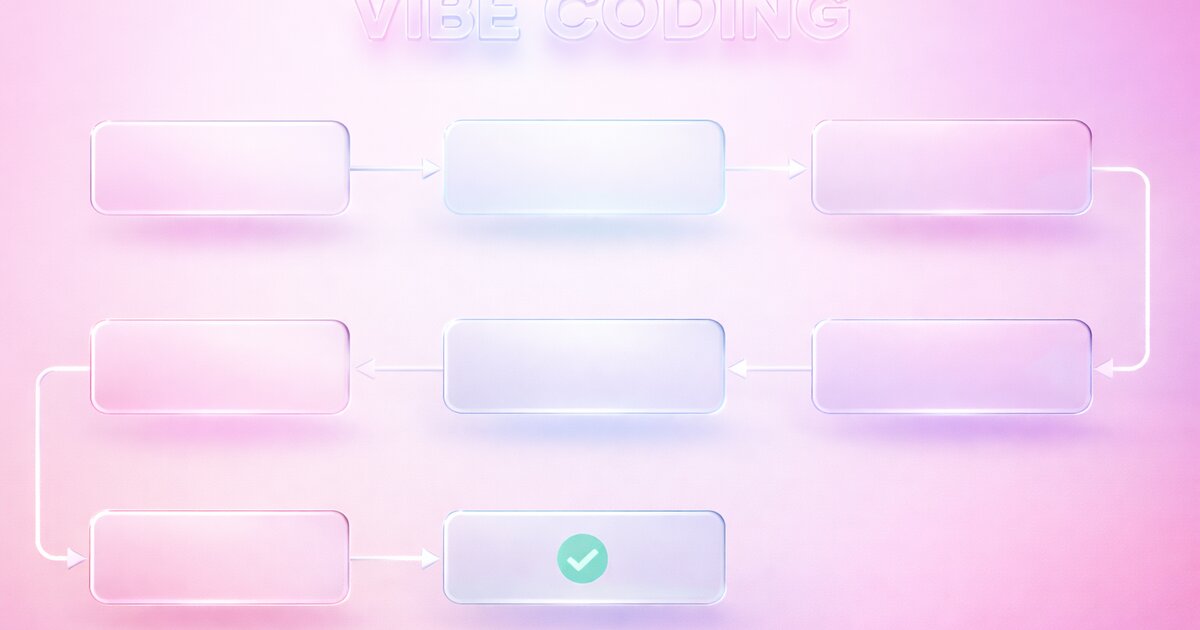
The Workflow Overview
- Plan - Define what you’re building
- Scaffold - Set up the project structure
- Build - Implement features incrementally
- Refine - Polish and improve
- Deploy - Ship to production
- Iterate - Improve based on feedback
Each phase uses AI differently. Let’s break them down.
Phase 1: Plan
Before touching any AI tool, get clear on what you’re building.
Define the Core
Write down in one sentence what your app does:
“A web app where users can track daily habits and see their streak data.”
If you can’t say it simply, you’re not ready to build.
List the Features
Break down into specific features:
- User authentication (email/password)
- Create/edit/delete habits
- Daily check-off for each habit
- Streak tracking (consecutive days)
- Weekly/monthly summary view
Prioritize ruthlessly. What’s the minimum for a useful v1?
Choose Your Stack
Decide your technology before asking AI to generate code. Changing stacks mid-project is painful.
For most projects in 2026, this stack works well:
- Frontend: Next.js with React
- Styling: Tailwind CSS
- Database: Supabase (PostgreSQL + Auth)
- Deployment: Vercel
Other good stacks exist. Pick one and commit.
Create the CLAUDE.md
Before any AI interaction, create a CLAUDE.md file:
# Habit Tracker

## Stack
- Next.js 14 (App Router)
- TypeScript
- Tailwind CSS
- Supabase for database and auth
- Vercel for deployment

## Features (v1)
- Email/password auth
- CRUD for habits
- Daily check-off
- Streak display

## Conventions
- Functional components only
- Server Components where possible
- Zod for validation
- React Hook Form for forms

## File Structure
- /app - Routes
- /components - Reusable components
- /lib - Utilities and database
- /types - TypeScript types
This becomes context for every AI conversation.
Phase 2: Scaffold
Now we use AI to set up the project structure.
Initial Project Creation
Open Claude Code:
“Create a new Next.js 14 project with the stack defined in CLAUDE.md. Set up the file structure, install dependencies, and configure TypeScript and Tailwind. Include Supabase client setup with placeholder environment variables.”
Let it create everything. Review what it made.
Database Schema
“Create the Supabase database schema for the habit tracker:
- users table (handled by Supabase Auth)
- habits: id, user_id, name, created_at
- check_ins: id, habit_id, date, created_at
Include row-level security policies. Generate SQL migration.”
Run the migration in Supabase.
Basic Layout
“Create the basic layout structure:
- Landing page at /
- Auth pages at /login and /signup
- Dashboard layout at /dashboard with header and sidebar
- Protected routes that redirect to login if not authenticated”
You now have a skeleton app.
Phase 3: Build
This is the main development loop. Build features one at a time.
The Feature Loop
For each feature:
- Describe the feature clearly to AI
- Review what AI generates
- Test that it works
- Refine with follow-up prompts
Example: Adding Habit Creation
Initial prompt:
“Implement the habit creation feature. Users should see a ‘New Habit’ button on the dashboard. Clicking it opens a modal with a form for habit name. On submit, save to Supabase and add the habit to the list. Handle loading states and errors.”
After seeing the result, refine:
“The modal is working but the animation is abrupt. Add a smooth fade-in/fade-out animation. Also, after creating a habit, close the modal and show a success toast.”
Then test:
Create a habit. Verify it appears in the list. Refresh the page. Is it still there? What happens if you submit an empty name?
Report issues:
“When I submit an empty name, I get a database error. Add client-side validation requiring at least 2 characters.”
Feature Sequencing
Build features in order of dependency:
- Authentication (everything depends on this)
- Habit CRUD (core feature)
- Check-in system (depends on habits existing)
- Streak calculation (depends on check-ins)
- Summary views (depends on all data being in place)
Each feature builds on the previous.
Commit Frequently
After each working feature:
“This feature is working. Generate a commit message for these changes.”
Commit. If something breaks later, you can roll back.
Phase 4: Refine
Once core features work, polish the experience.
Error Handling
“Review all user-facing interactions and add proper error handling. Show user-friendly error messages. Log errors for debugging. Handle network failures gracefully.”
Loading States
“Add loading states throughout the app. Show skeletons or spinners during data fetches. Disable buttons during form submission. Make the app feel responsive.”
Mobile Responsiveness
“Review all pages for mobile. The sidebar should become a slide-out menu on mobile. Forms should be usable on small screens. Tables should scroll horizontally or convert to cards.”
Accessibility
“Add accessibility improvements. All images need alt text. Forms need proper labels. Focus states should be visible. Screen reader testing - what can we improve?”
Code Review
“Do a comprehensive code review of the entire project. Look for bugs, security issues, performance problems, and code quality issues. Prioritize by severity.”
Address what it finds.
Phase 5: Deploy
Time to ship.
Pre-Deployment Checklist
“Review the project for production readiness:
- Are all environment variables properly configured?
- Any hardcoded localhost URLs?
- Error boundaries in place?
- Meta tags and SEO basics done?
- favicon and app icons set?”
Deploy to Vercel
- Push to GitHub
- Connect to Vercel
- Add environment variables
- Deploy
“Generate a list of all environment variables I need to set in Vercel.”
Production Testing
Test everything on the production URL. Real environment. Real data.
Things that often break in production:
- Environment variable typos
- CORS issues
- OAuth redirect URLs
- Database connection strings
Phase 6: Iterate
Launch is the beginning, not the end.
Gather Feedback
Put the app in front of users. Watch how they use it. Ask what’s confusing.
Prioritize Improvements
Not all feedback is equal. Prioritize:
- Bugs (things that don’t work)
- Confusion (things that work but aren’t clear)
- Missing features (things users expect)
- Nice-to-haves (things that would be cool)
Continue the Loop
For each improvement, return to Phase 3. Describe, generate, test, refine.
The app grows through iteration.
Tool Usage Throughout
Different phases use different tools:
| Phase | Primary Tool | Why |
|---|---|---|
| Plan | Your brain + notes | AI can’t know what you want |
| Scaffold | Claude Code | Multi-file generation |
| Build | Claude Code / Cursor | Feature implementation |
| Refine | Claude Code | Review and polish |
| Deploy | Vercel CLI / Dashboard | Deployment |
| Iterate | Claude Code | Ongoing development |
Time Expectations
For a simple SaaS like our habit tracker:
| Phase | Time |
|---|---|
| Plan | 1-2 hours |
| Scaffold | 1-2 hours |
| Build (core features) | 4-8 hours |
| Refine | 2-4 hours |
| Deploy | 1 hour |
Total: About a weekend for a functional MVP.
More complex apps scale accordingly. But the process stays the same.
Workflow Anti-Patterns
Things that slow you down:
Skipping the plan: Jumping straight into AI prompts without clarity leads to confused output and wasted iteration.
One mega-prompt: Trying to describe everything at once. Build incrementally instead.
Not testing: Generating code and assuming it works. Always verify.
Ignoring errors: Treating AI-generated code as correct. It makes mistakes.
Perfectionism early: Polishing before the core works. Get it working first.
Stack indecision: Changing technologies mid-project. Pick and commit.
Master the Workflow
Get the complete vibe coding course with projects, templates, and advanced techniques.
Get the CourseThe Compound Effect
This workflow gets faster with practice.
Your CLAUDE.md files become templates. Your prompting patterns become habits. You develop intuition for what works.
Projects that took a weekend start taking a day. Your standards rise. You ship more.
The workflow isn’t magic. It’s structured practice. Each project makes you better at the next one.
Start your next project with this workflow. Follow each phase. Notice what works.
By the third project, you’ll have made it your own. That’s when vibe coding stops being a technique and starts being how you build.